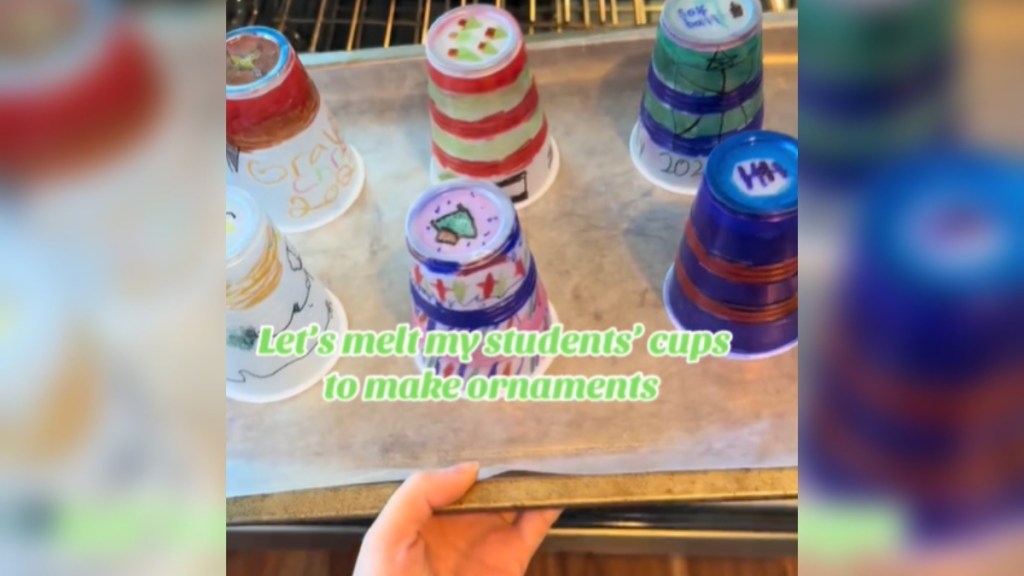
Decorating with festive decor is half the fun of the holiday season. And sure, you could simply go out and buy ornaments that are already made, but have you ever considered making some of your own? A teacher, who goes by Wallen online, has the perfect “hack” to do just that. In fact, this year, she helped her students with the process. Now, she’s sharing it with the rest of us, too!
Videos by InspireMore
To get started on this DIY ornament, you will need a plastic cup. More specifically, you will need one that is non-toxic. Wallen says cups that are non-toxic will be marked with the number six on them, likely marked at the bottom. Next, it’s time to use permanent marker to decorate the cups. Finally, it’s time to bake these ornaments-to-be. Okay, so maybe bake isn’t the most accurate word… but you’ll see what I mean in the video below!
By warming the cups up in an oven, they shrink down to the size of an ornament. From here, Wallen says she uses a hole punch to create the perfect opening for a ribbon or hook to hang the ornament from. Needless to say, the folks in her comment section are endlessly fascinated by this hack — and they have lots of questions.
This Creative Teacher’s DIY Christmas Ornament Will Blow You Away
Luckily, Wallen answered many of these questions in the video above. If you do plan on giving this DIY a shot, we highly recommend you watch the video. And, of course, please be careful whenever a project involves plastic and an oven.
“Make sure the cups have ridges or it doesn’t work as well (I learned that last year),” Wallen adds in a comment on her video. “Oven at 350° and as soon as they are flat, take out to cool.”
You can find the source of this story’s featured image here!
Want to be happier in just 5 minutes a day? Sign up for Morning Smile and join over 455,000+ people who start each day with good news.


